めも
- Button.setTitle
- Timer.scheduledTimer
- AVAudioPlayer
- UserDefaults
- UINavigationController
画面遷移
- Viewのコードを書くSwiftファイルを追加(HogeViewController)
- Main.storyboard -> ViewController
- Editor -> Embed In -> Navigation Controller
- Navigation Controller が追加される(画面遷移をナビゲーションするためのクラス)
- ViewController に Navigation Item が追加される
- Object Library -> ViewController をエディタエリアに追加
- 新しい View の Identity inspector -> HogeViewController
- Date Picker を配置
設定画面
- DatePickerのバグ対応
- 1回目のValueChangedはイベントが発生しない。
- datePicker.setDate() すると良さそう。
Swift – UITest
Understanding UI Testing using iOS, Xcode 9 and Swift
Identity inspector
Accessibility -> identifier でIDをセットしてみる。
IDの問題ではなくてテストの順番で今どのViewを開いているかが問題?
でもなくて、
setUp() で 毎回、
XCUIApplication().launch()
しているのでSliderの値が変わっていると、Labelの内容も変化させているので、
初期値の Label ではなくて、Slider に合わせた値がView上に残っているため、
操作によって変化しない ID が必要、ということでした。
###Swift – Slider by step
(stackoverflow)UISlider with increments of 5
code:swift
 let step: Float = 5
 @IBAction func sliderValueChanged(sender: UISlider) {
    let roundedValue = round(sender.value / step) * step
    sender.value = roundedValue
    // Do something else with the value

 }
Swift – UserDefaults
UserDefaults.standard
register(defaults:)
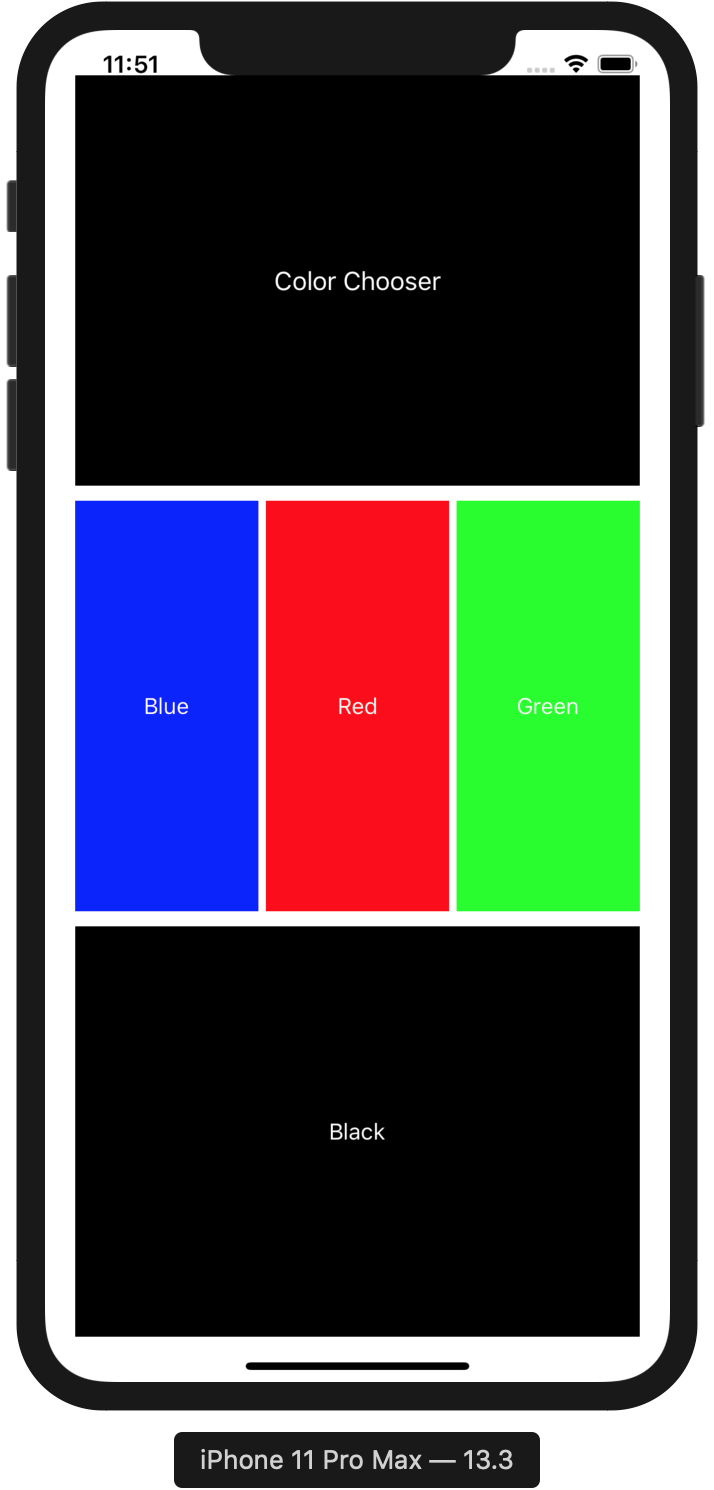
Swift – Layout
Auto Layout Guide
Simple Constraints
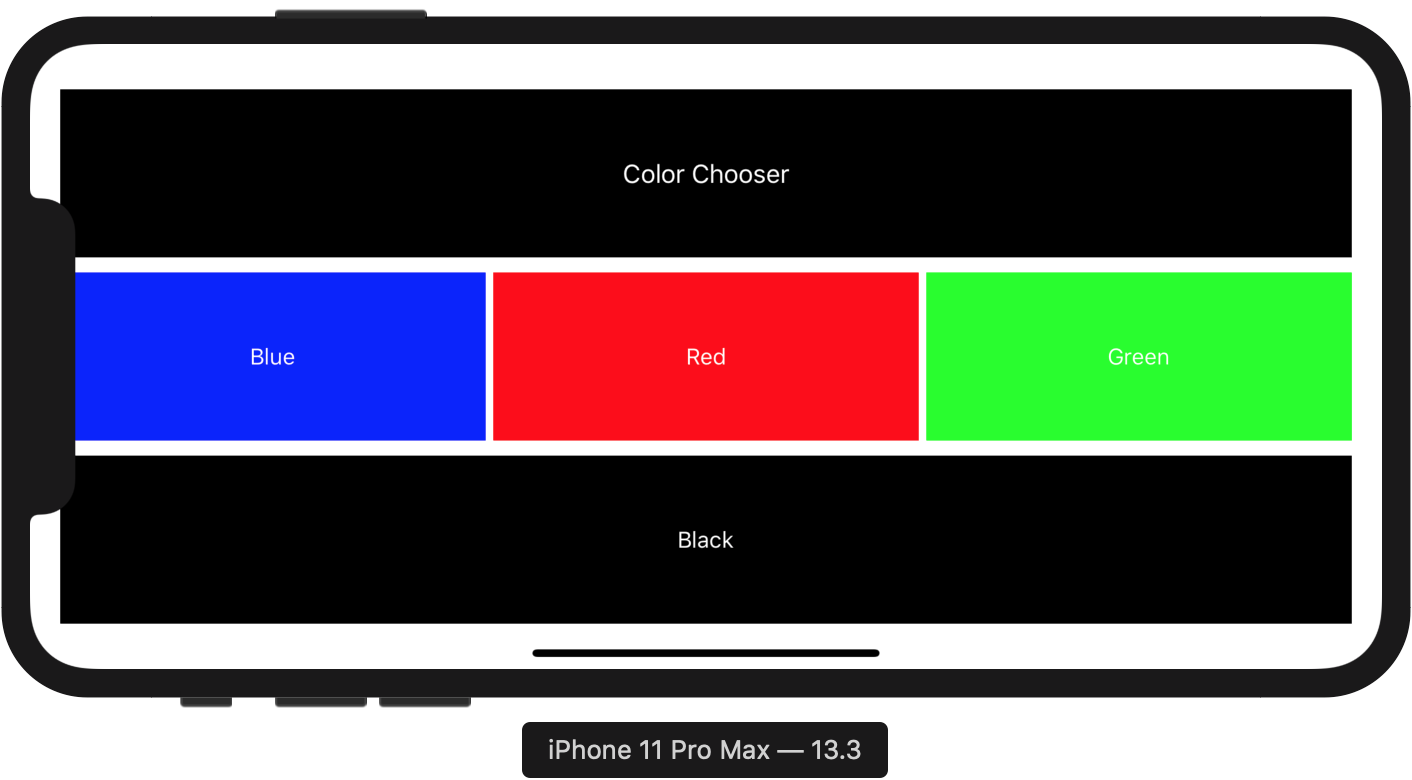
Adaptivity and Layout
横に部品を2個配置した場合の設定例など。
Views with Intrinsic Content Size
ボタンをbottomに寄せれば良さそう。
ラベルは中央。
Labelの配置例
Label.centerX = Superview.centerX
Label.top = Superview.centerY
Label.leading = Superview.leadingMargin + 80
Auto Layout Localization:
Fixed leading and trailing constraints may cause clipping,
one of them should have a constant ≥ standard space.
上のWarningが出る場合は、Size Inspector -> Constraints のなかで leading / trailing が固定値(=)になっているものを ≥ に変更する。
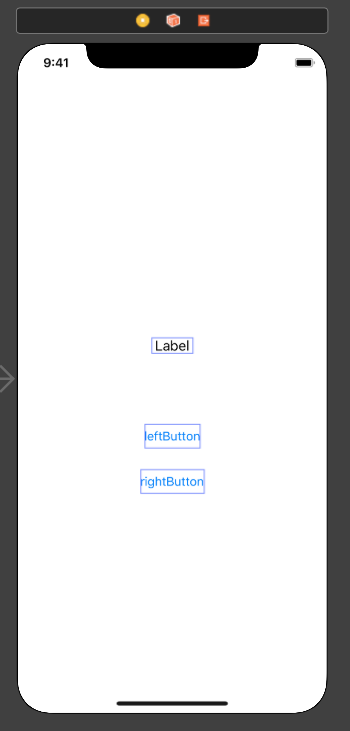
Label, Button を縦に配置
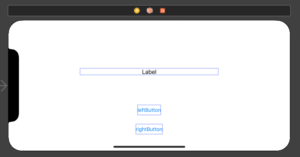
 Safe Area.trailing ≥ rightButton.trailing + 57
 Label.centerX = centerX
 Label.top = CenterY -50
 Label.leading = Safe Area.leading + 162
 leftButton.top = Label.top + 105
 LeftButton.centerX = centerX
 LeftButton.leading ≥ Safe Area.leaging + 100
 rightButton.leading ≥ Safe Area.leading + 57
 rightButton.centerX = centerX
 rightButton.top = leftButton.bottom + 25
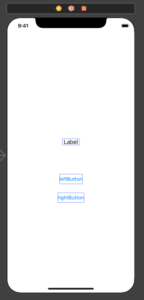
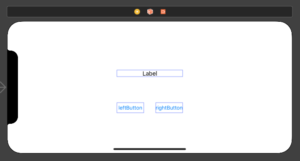
上を改善
 Label.centerX = centerX
 Label.centerY = CenterY -50
 Label.leading = Safe Area.leading + 162
 leftButton.top = Label.top + 105
 LeftButton.centerX = centerX
 LeftButton.leading ≥ Safe Area.leaging + 100
 rightButton.leading ≥ Safe Area.leading + 57
 rightButton.centerX = centerX
 rightButton.top = leftButton.bottom + 25
ボタンを横に並べてみる
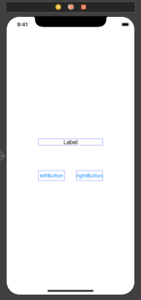
 Safe Area.trailing ≥ rightButton.trailing + 93
 Label.trailing = rightButton.trailing
 Label.leading = leftButton.leading
 Label.centerY = centerY - 40
 leftButton.lastBaseline = rightButton.lastBaseline
 leftButton.centerX = centerX - 55.5
 leftButton.top = Label.bottom + 73
 leftButton.leading ≥ Safe Area.leading + 93
 rightButton.centerX = centerX + 55.5
 rightButton.width = leftButton.width